Introduction
Pet doors are a wonderful addition to any home, providing convenience and freedom for both pets and their owners. With a pet door, your furry friend can easily access the outdoors whenever they need to go potty or simply enjoy some fresh air and exercise. This comprehensive guide will walk you through the process of installing a pet door, ensuring that you create a safe and efficient entryway for your beloved companion. By following these steps, you'll be well on your way to creating a more comfortable living environment for both you and your pet.
Step 1:
Selecting the Right Pet Door Before beginning the installation process, it's crucial to choose the right pet door that suits your specific needs. There are several factors to consider when making this decision, such as the size of your pet, the type of door or wall you'll be installing the pet door in, and the security features you desire. Measure your pet's height and width to ensure that the door is appropriately sized, allowing for easy entry and exit. Additionally, consider the material of the pet door, as well as any weatherproofing or insulation features that may be necessary for your climate.
Step 2:
Gathering the Necessary Tools and Materials To install a pet door, you'll need a few basic tools and materials. Make sure you have the following items before you begin the installation process:
1.Pet door kit (including the door flap, frame, and any required hardware)
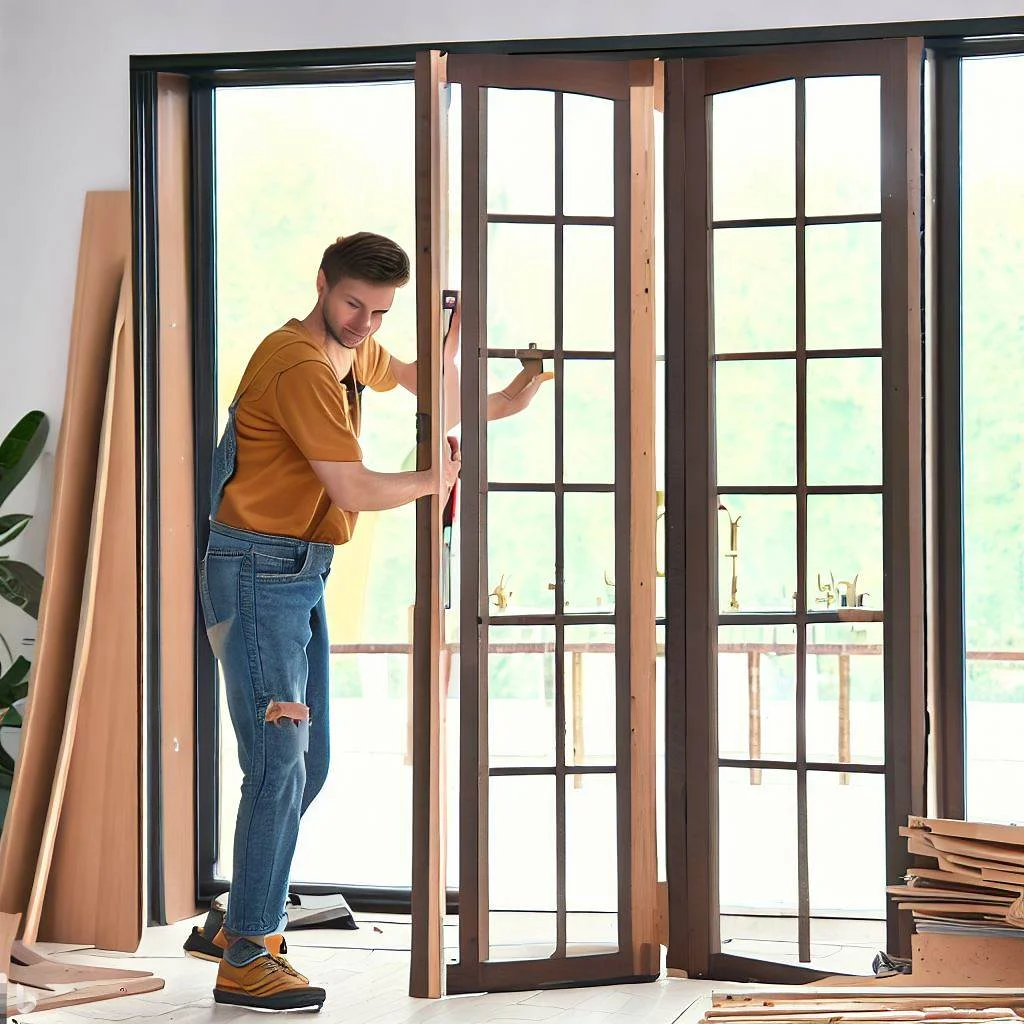
2.Measuring tape
3.Pencil or marker
4.Drill
5.Jigsaw or reciprocating saw (depending on the type of door or wall you're installing the pet door in)
6.Screwdriver
7.Level
8.Safety goggles
9.Masking tape (if applicable)
10.Caulk or sealant (if necessary)
Step 3:
Measuring and Marking the Installation Area Carefully measure and mark the area where you intend to install the pet door. Ensure that the markings are level and centered, taking into account both the height and width of your pet. Follow the manufacturer's instructions regarding the specific measurements required for your chosen pet door model. Using a pencil or marker, trace the outline of the pet door frame onto the door or wall, making sure to double-check the accuracy of your markings.
Step 4:
Preparing the Installation Area Next, prepare the installation area by removing any obstacles, such as furniture or decorations, that may interfere with the installation process. If you're installing the pet door in a door, remove the door from its hinges and lay it flat on a stable surface. If you're installing the pet door in a wall, make sure there are no electrical wires or pipes in the immediate vicinity. Take necessary precautions to avoid damaging any existing structures or systems.
Step 5:
Cutting the Opening Using a drill and appropriate-sized drill bit, create a starting hole in one corner of the marked outline. This hole will serve as a guide for cutting the rest of the opening. If you're installing the pet door in a door, use a jigsaw or reciprocating saw to carefully cut along the marked outline, following the manufacturer's instructions. If you're installing the pet door in a wall, consult a professional to ensure that the cutting process is done correctly and safely.
Step 6:
Installing the Pet Door Frame With the opening cut, you can now install the pet door frame. Insert the frame into the opening and align it properly, making sure it fits securely. Use the provided hardware (screws or fasteners) to attach the frame to the door or wall. Double-check that the frame is level and tightly secured to prevent any gaps or instability.
Step 7:
Attaching the Door Flap Once the frame is securely in place, attach the door flap according to the manufacturer's instructions. Most pet doors come with a flexible, weather-resistant flap that allows for easy passage. Make sure the flap is properly aligned with the frame and can swing freely in both directions. Test the door flap to ensure it opens and closes smoothly, making any necessary adjustments as needed.
Step 8:
Final Touches and Safety Measures After installing the pet door, take a moment to check for any gaps or openings around the frame. Use caulk or sealant to fill in any spaces to prevent drafts or water leakage. If necessary, add weather-stripping or insulation to enhance energy efficiency and weatherproofing. Consider adding additional security features, such as a locking mechanism or electronic collar key, to ensure the safety of your pet and home.
Conclusion
Installing a pet door is a rewarding project that offers numerous benefits for both you and your furry companion. By carefully selecting the right pet door, gathering the necessary tools and materials, and following the step-by-step installation process outlined in this comprehensive guide, you can create a convenient and secure access point for your pet. Remember to prioritize safety and comfort throughout the installation process, and enjoy the newfound freedom and independence your pet will experience with their new door.